Status unknown — verify before visiting

We don't have current condition data for this trail. Check with the land manager before you go.

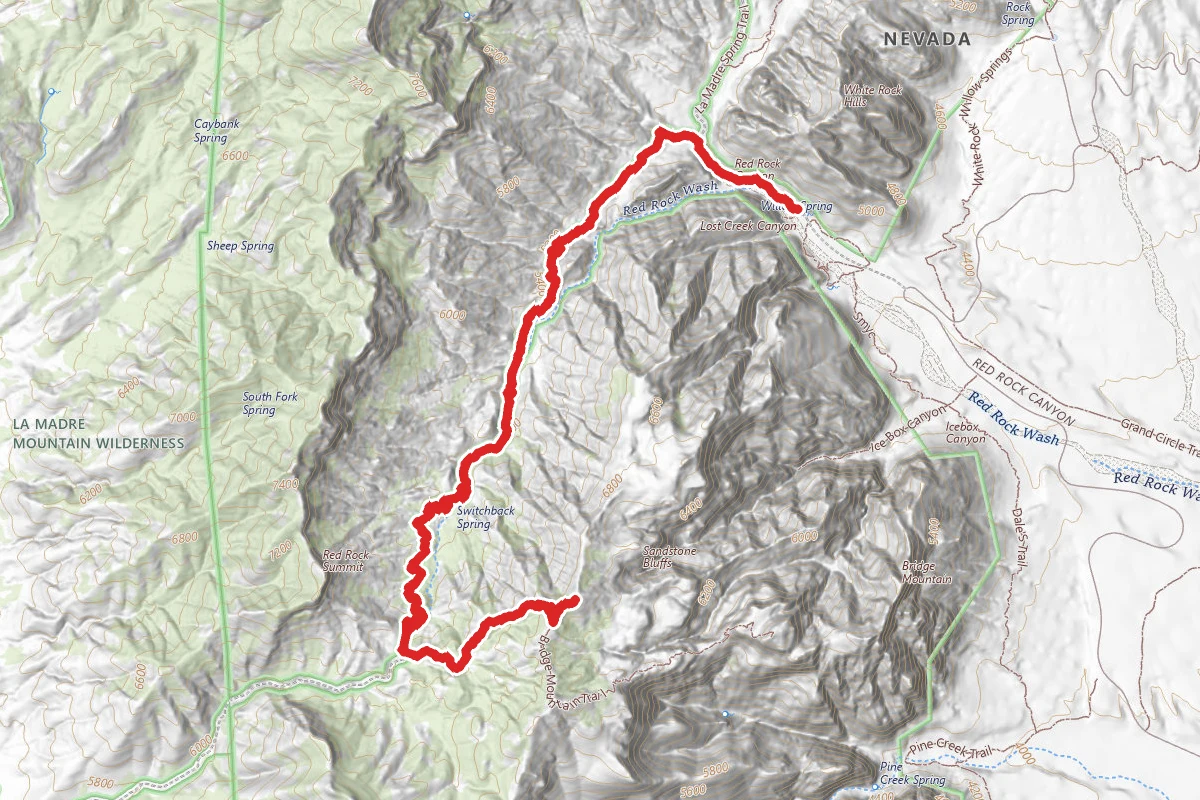
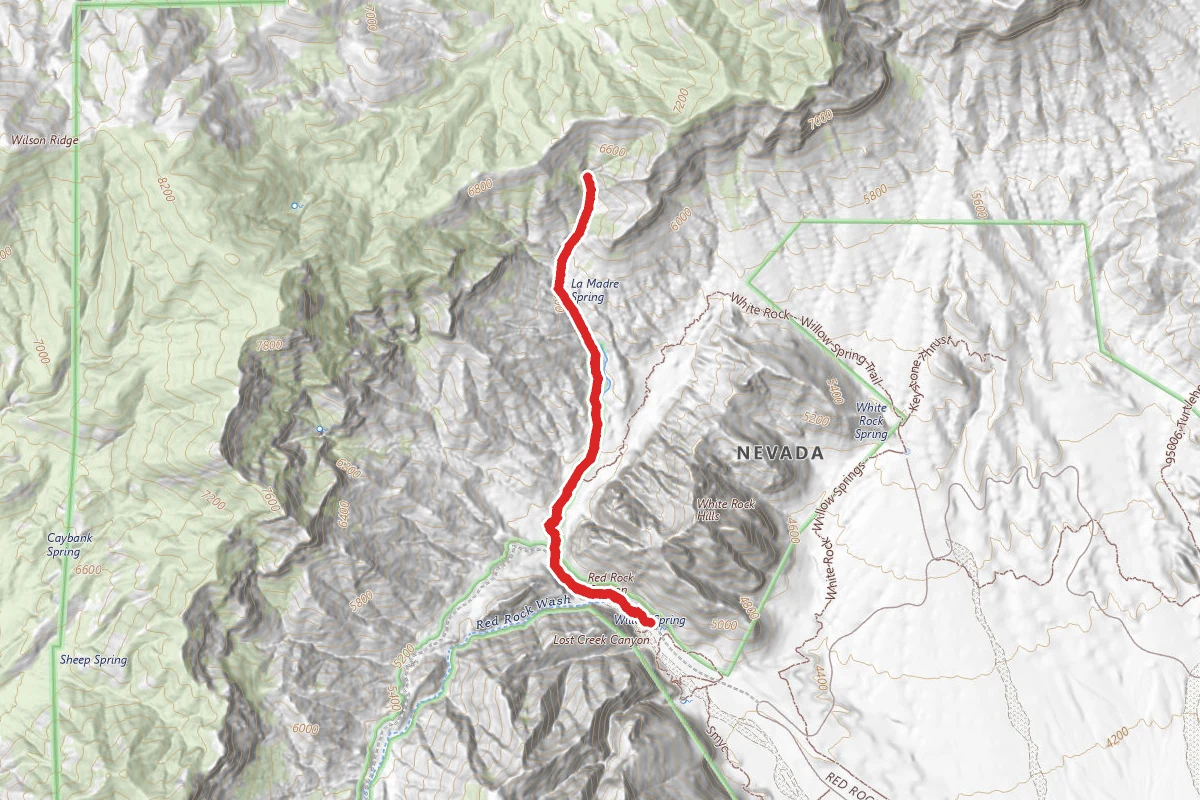
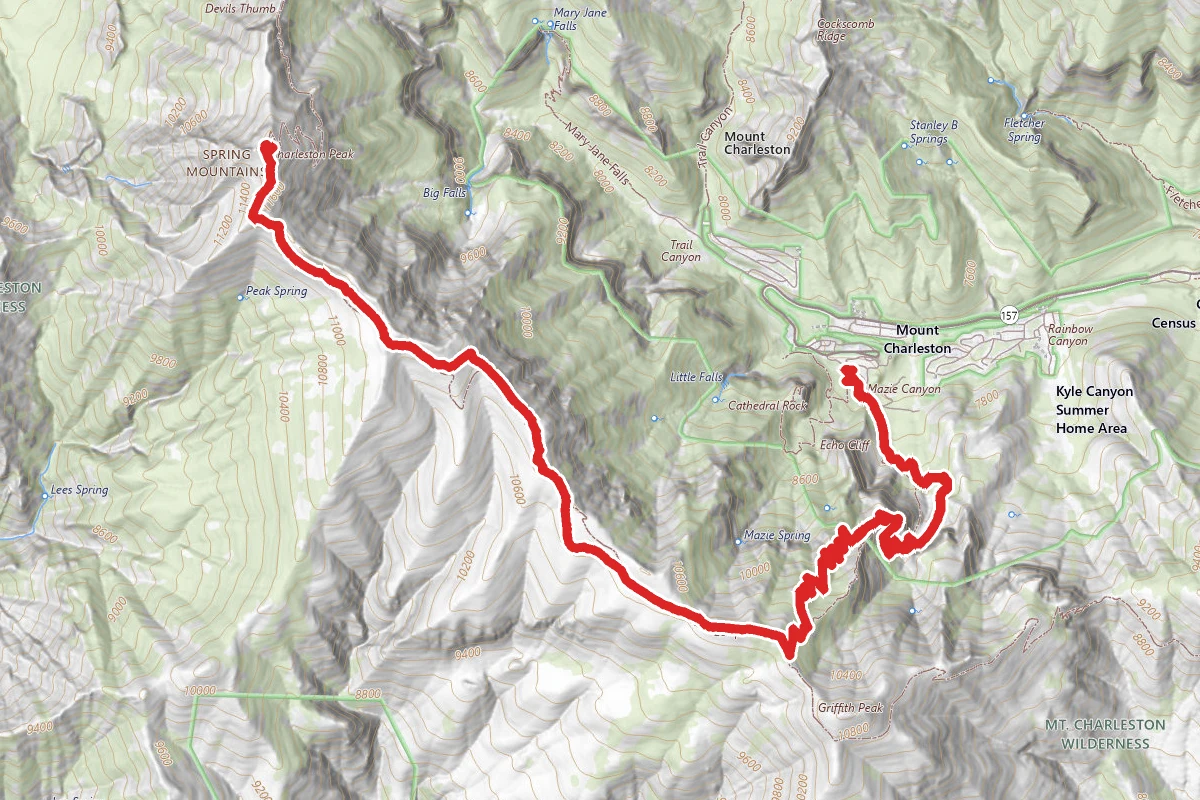
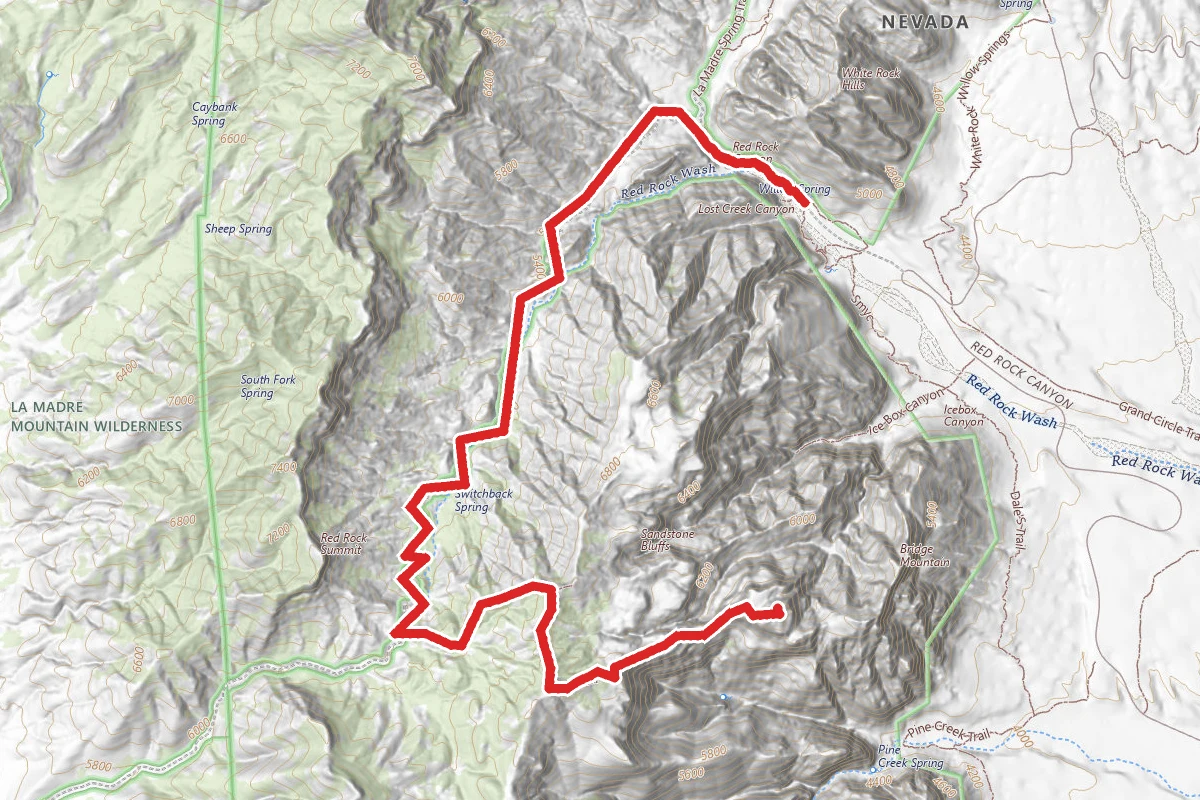
Bridge Mountain Trail route map
ExpertOut and Back

Bridge Mountain Trail

Las Vegas, Nevada

14.2 mi

Distance

5,459 ft

Elev. Gain

7h 6m

Est. Time

Out & Back

Route Type

Expert

Difficulty

About This Trail

Imported description
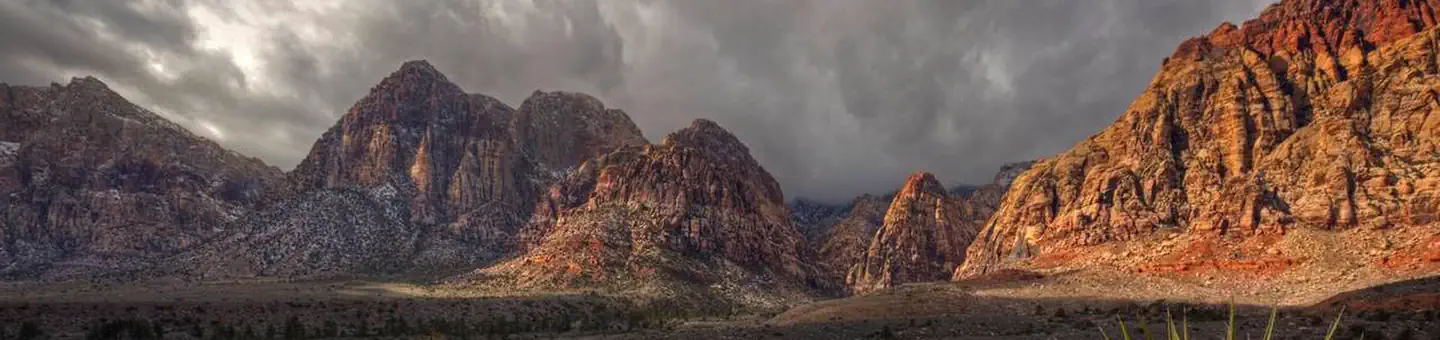
The signed trail starts at the summit of Rocky Gap Road. It heads SE with a slight incline, but soon levels. In about 400 yards the trail curves south and goes up a small hill. At the top of the hill you can see Rocky Gap road, the road you drove on to get to the trailhead. The incline becomes moderate as the trail heads NE and gains the next ridge. The trail passes outcrops as it stays on the crest of the ridge and heads east. After a few switchbacks, the trail nears the predominant north/south ridge. The trail stays a few feet below the ridge on the west side. As it heads south you pass a metal trail sign. Just after this point you get your first view of Bridge Mountain. What a contrast from the dull gray to the multi-colored sandstone. Two different worlds separated by the Keystone Thrust fault. The trail heads south and stays along the top of the ridge, which affords great views of Bridge Mountain and, if clear, Las Vegas. You quickly pass a wooden trail sign. The views are soon obscured as the trail weaves behind a ridge. The trail curves to the east and the views out to the south rival the vista of Bridge Mountain. Juniper Peak, Rainbow Wall and Peak, and Mt. Wilson are seen from the trail. The vistas keep getting better as the trail curves to the north and Bridge comes back into view. The trail starts to descend to the overlook. The deep canyon off to the right is Pine Creek Canyon. Follow the switchbacks down the red dirt and sandstone to the overlook. From the overlook, the idea is to climb down the shoulder to a bench. Begin by heading north down the wash 60 yards to where the terrain flattens. Follow the cairns across the sandstone heading directly toward Bridge Mountain. As you pass the ponderosas, you cross a dry drainage. If you walk east (right) in the drainage you get a great view of Las Vegas. Once across the drainage, follow the cairns up the sandstone 50 yards to the first of three chutes. A pine marks the start of the class 2 chute. At the bottom of the chute, turn left and follow a short path through the manzanita bushes. Once back on sandstone, cairns and black marks lead you 50 feet to the second chute. Descend the class 3 chute. Once down, follow the cairns and black marks to the third chute, which is only 20 yards away. After descending the chute, theres a 20- foot, class 3 wall you have to descend. Its only 15 yards from the bottom of the third chute. Follow the cairns down to the bench. You have descended the shoulder, now its easy going 150 yards across the bench. Hike up a steep ramp of sandstone to the start of the crack. Theres a large black arrow on the west (left) wall of the crack. Follow the black marks up the crack. If it is windy stay in the crack; otherwise follow the black arrows when they point up and to the right. Climb out of the crack on the east (right) side and up the beehive sandstone. People who have a fear of heights should stay in the crack. The climb outside of the crack is exposed. Staying in the crack is more protected, but it is a harder climb. As the crack passes a ledge, follow the black marks west (left) along a ledge for about 10 yards. You are now on the west (other) side of the crack. Climb the ramp as indicated by the marks. Its a 50 yard climb to the 30-foot tall and 50-foot wide arch. On the other side of the arch a giant ponderosa leans against the sandstone. This is a great area to take a break. Continue by going under the arch and friction climb along the left wall. A fallen log lies near the wall. At the top of the arch the dome-shape peak of Bridge Mountain can be seen. Go SE across the sandstone rim and around the Hidden Forest. The final ascent heads NE along a steep ramp, which is well marked with cairns. At the top of the ramp, the peak stands to the south. Its an easy 40-yard trek to the peak from this point. A large cairn with a sign-in book marks the peak. A natural shelter sits just below the peak. This is a good place to have lunch and escape the wind. The view from the peak has to be seen to be appreciated. Its awesome.

Trail Conditions

Trail Conditions

Unknown

We have no current condition data for this trail. Check with the operator before you go, and submit a report below if you've been recently.

No recent condition reports. Be the first to share what you see on the trail.

Elevation Profile

Min:1,390 ft
Max:2,190 ft
1,664 ft
1,664 ft
1,390 ft1,657 ft1,923 ft2,190 ft0.0 mi3.6 mi7.1 mi10.7 mi14.2 mi

Trail Details

Route Type
Out & Back
Surface
Dirt

Official sources & verification

We don't have curated agency sources for this trail in our cache yet. Outdoors is not the permitting authority — confirm conditions, permits, and access with the managing agency before you go. If you know who manages this trail, please tell us.

Reviews

No reviews yet

Be the first to share your experience and help others plan their visit.

Legacy import — verify before navigating

Path geometry came from our pre-launch legacy database. Routes have not yet been re-verified against the operator and may differ from the actual trail.

Hunt context

This trail crosses hunting units

During hunting seasons, wear blaze orange and check regulations — see the Nevada hunting page

Spot an error in our data on Bridge Mountain Trail?